STEP 1

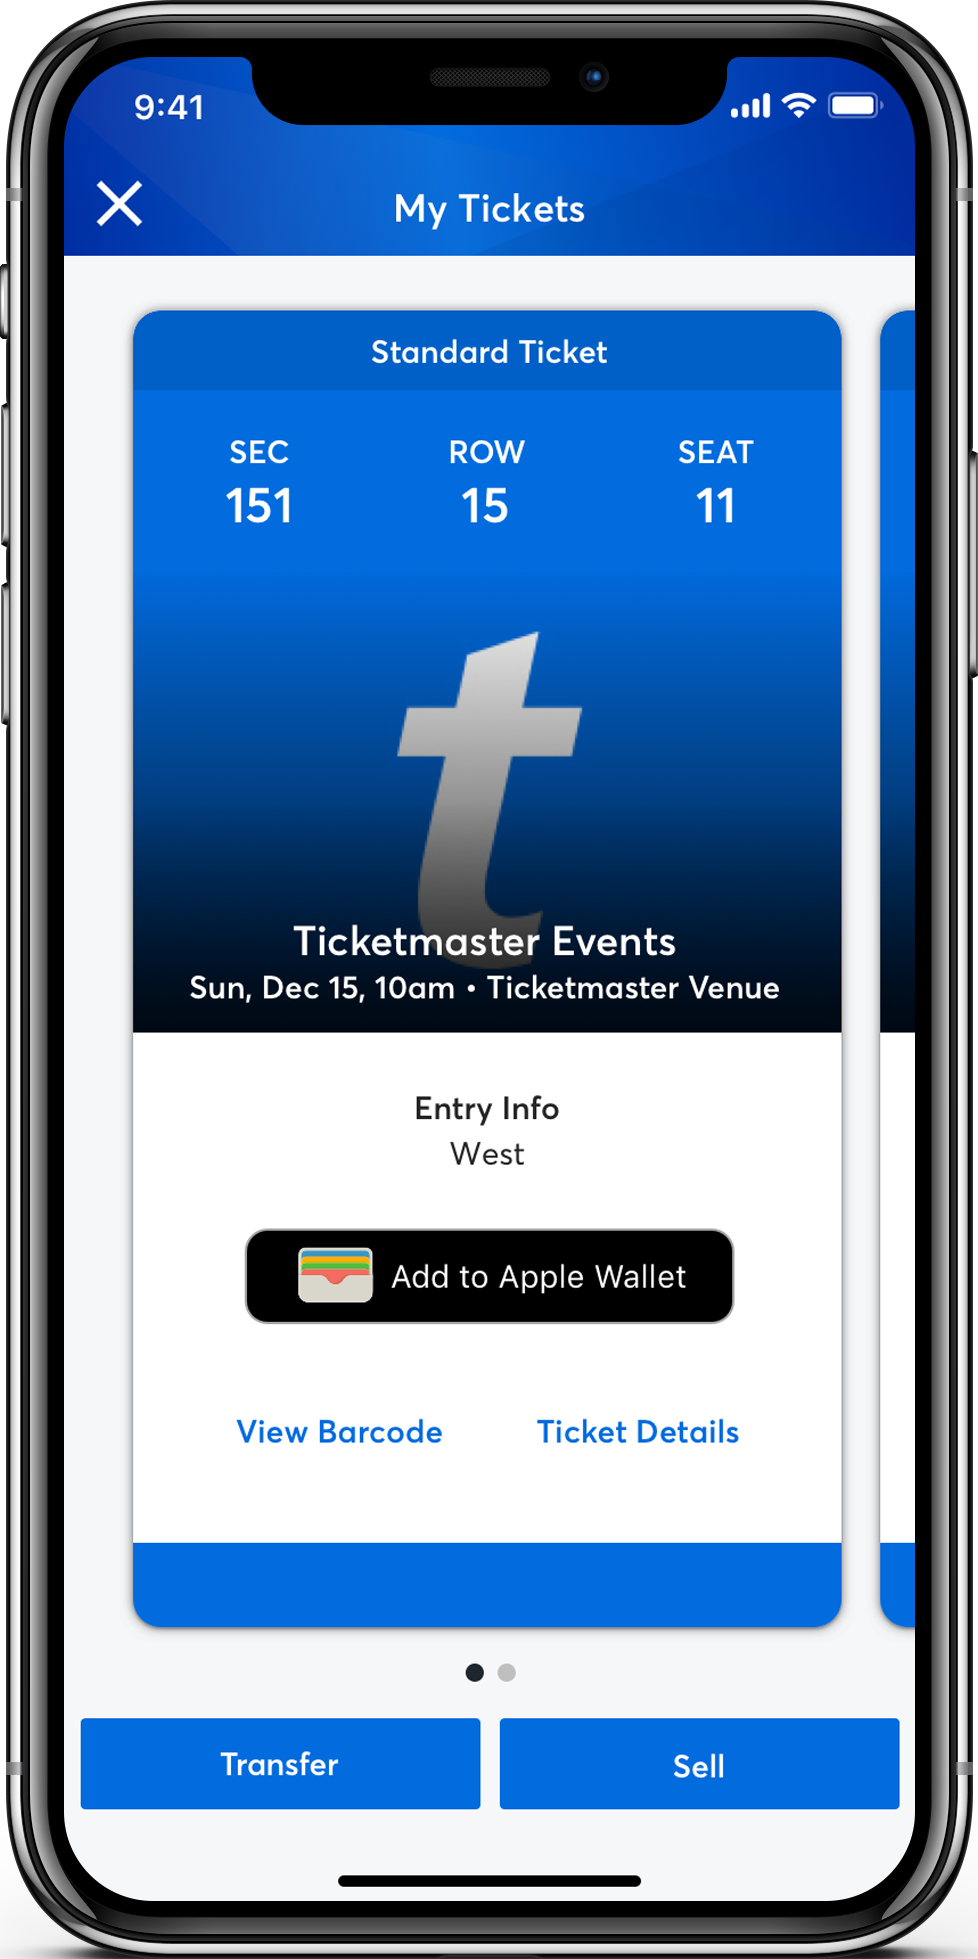
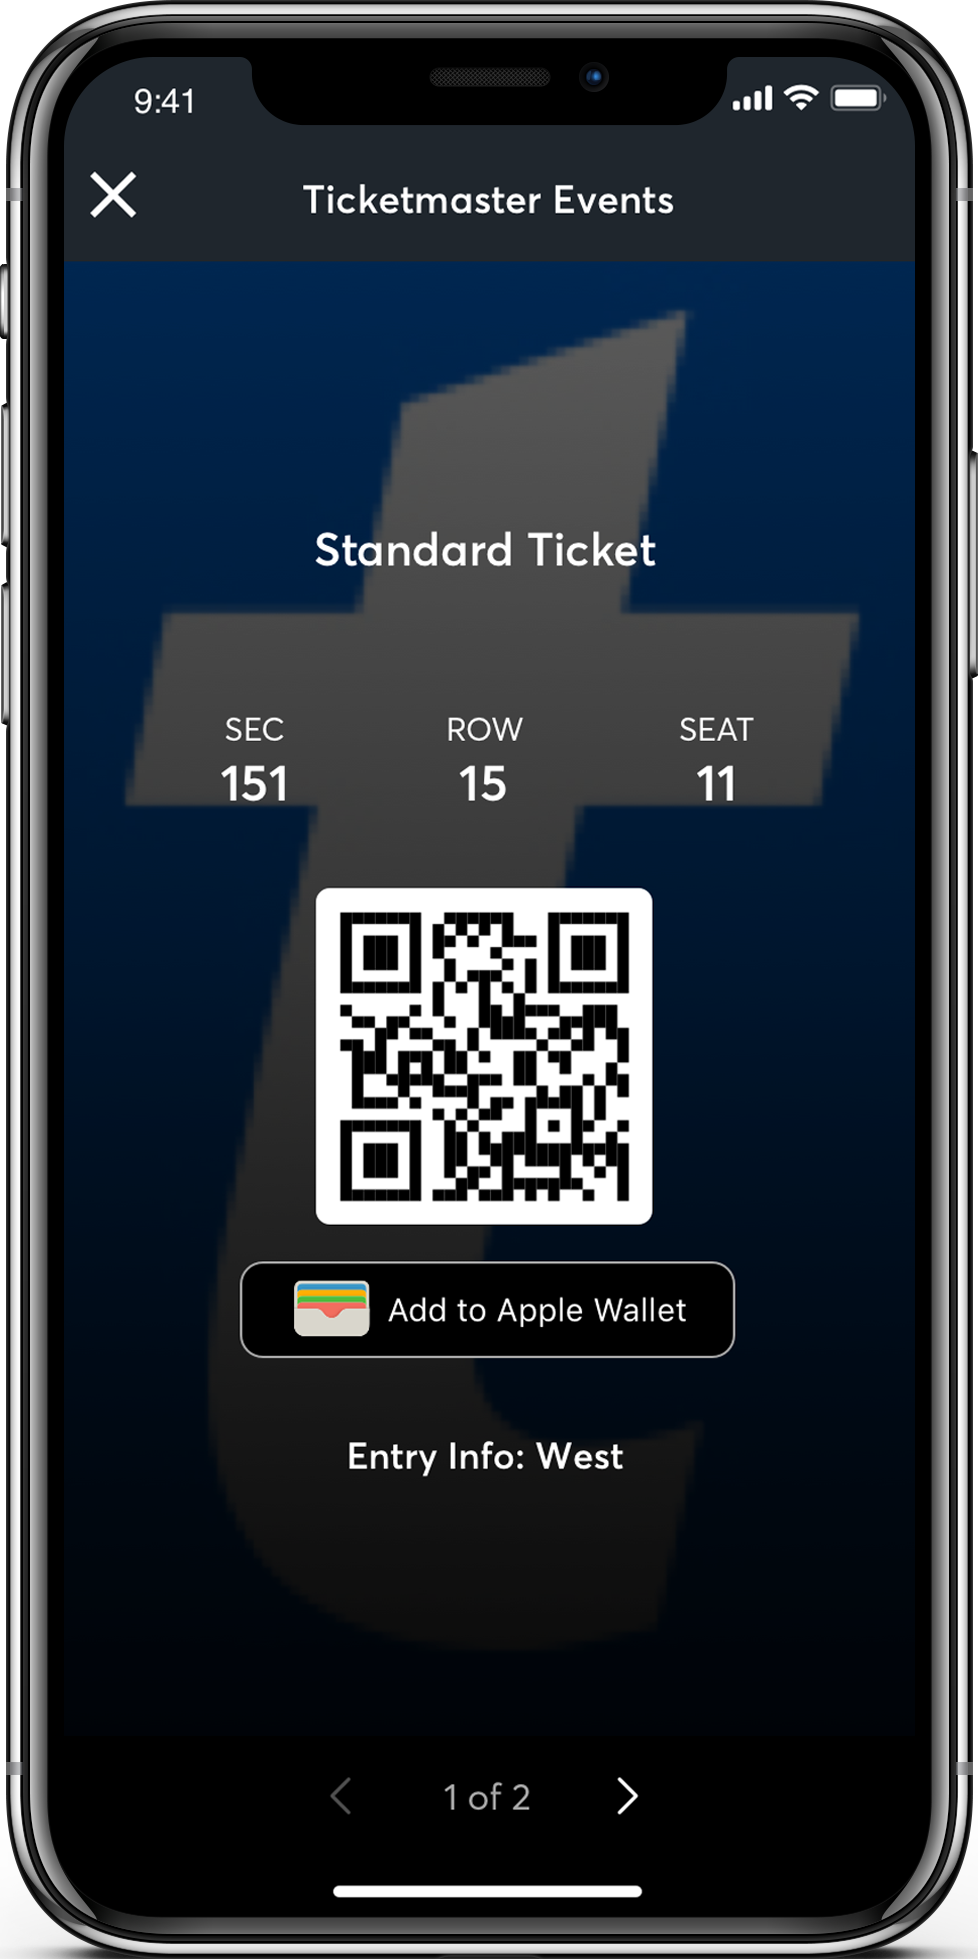
From your app, tap on your event to view your ticket, then tap View Barcode.

STEP 2

At the gate, have your phone out and ready to go - you'll simply tap, scan and go to enter.

STEP 3

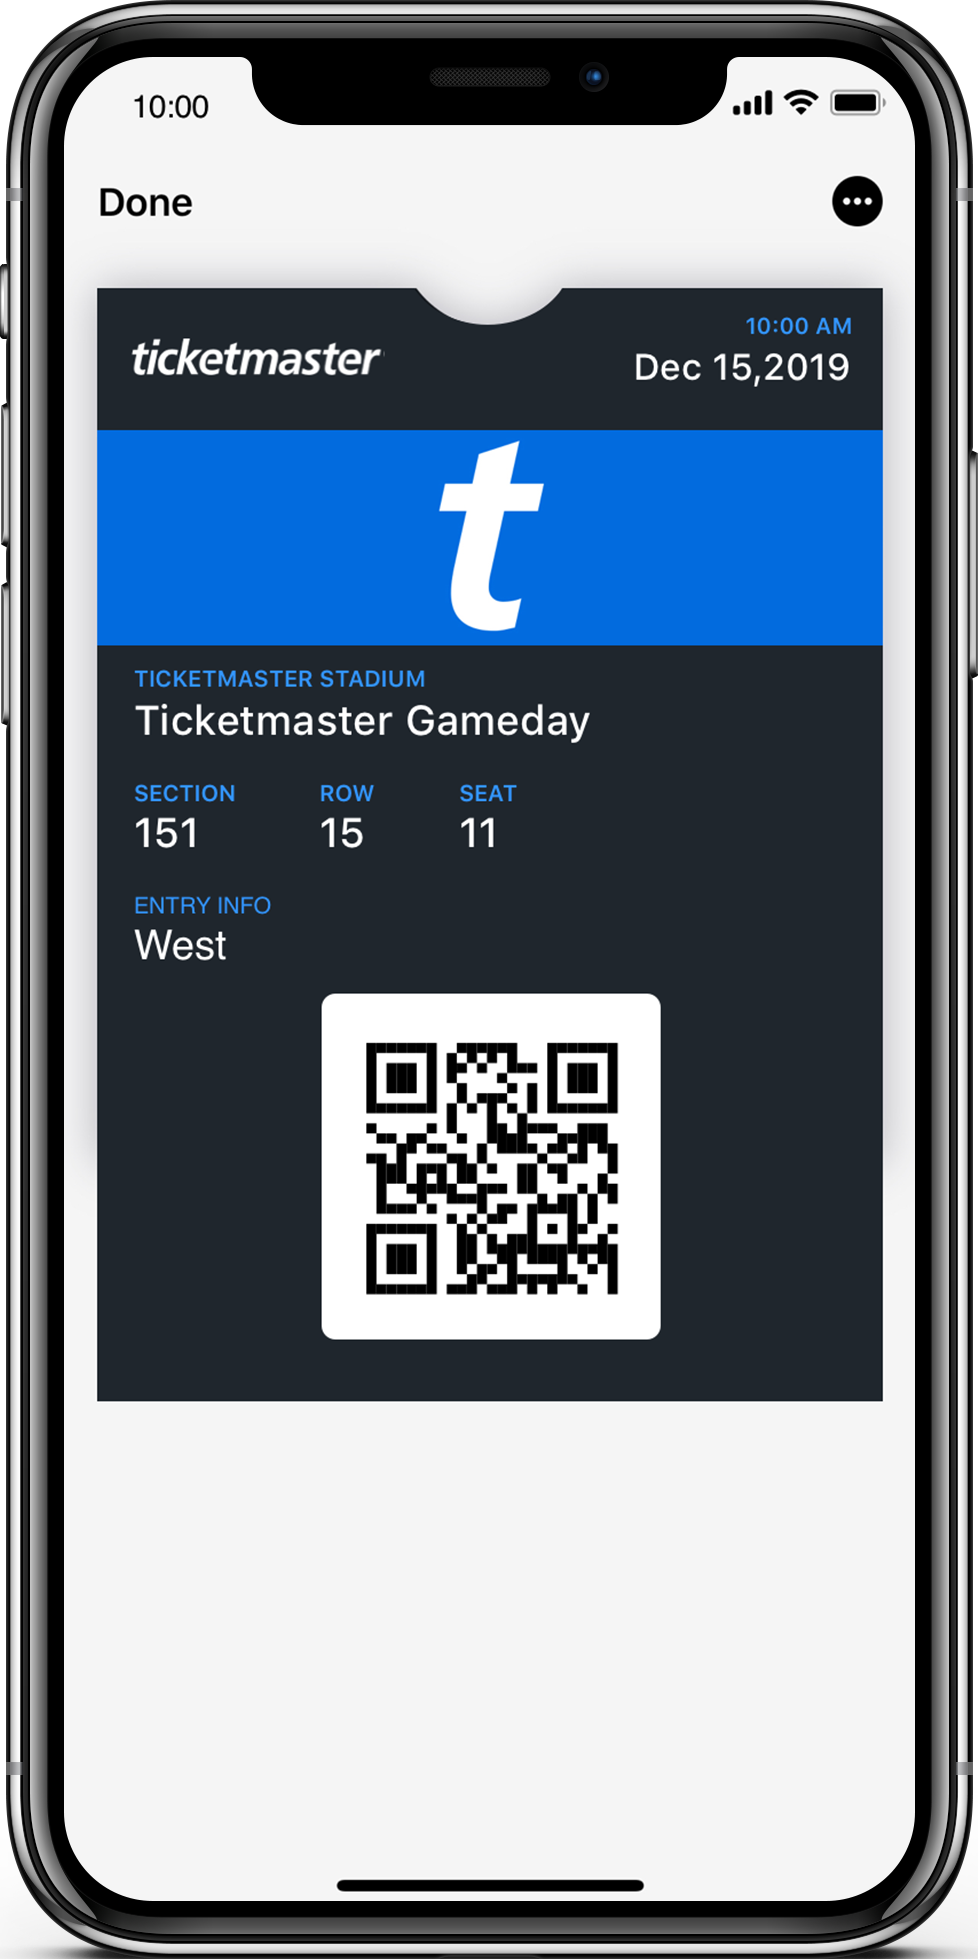
For even faster entry, add your ticket to your phone's digital wallet. You'll breeze through entry with a quick tap and go at the gate.
Pro Tip: Add your tickets to your phone's digital wallet. This will help make entry a breeze if you hit slow or unavailable WiFi at the venue.
 

STEP 1

From your app, tap on your event to view your ticket, then tap Transfer.

STEP 2

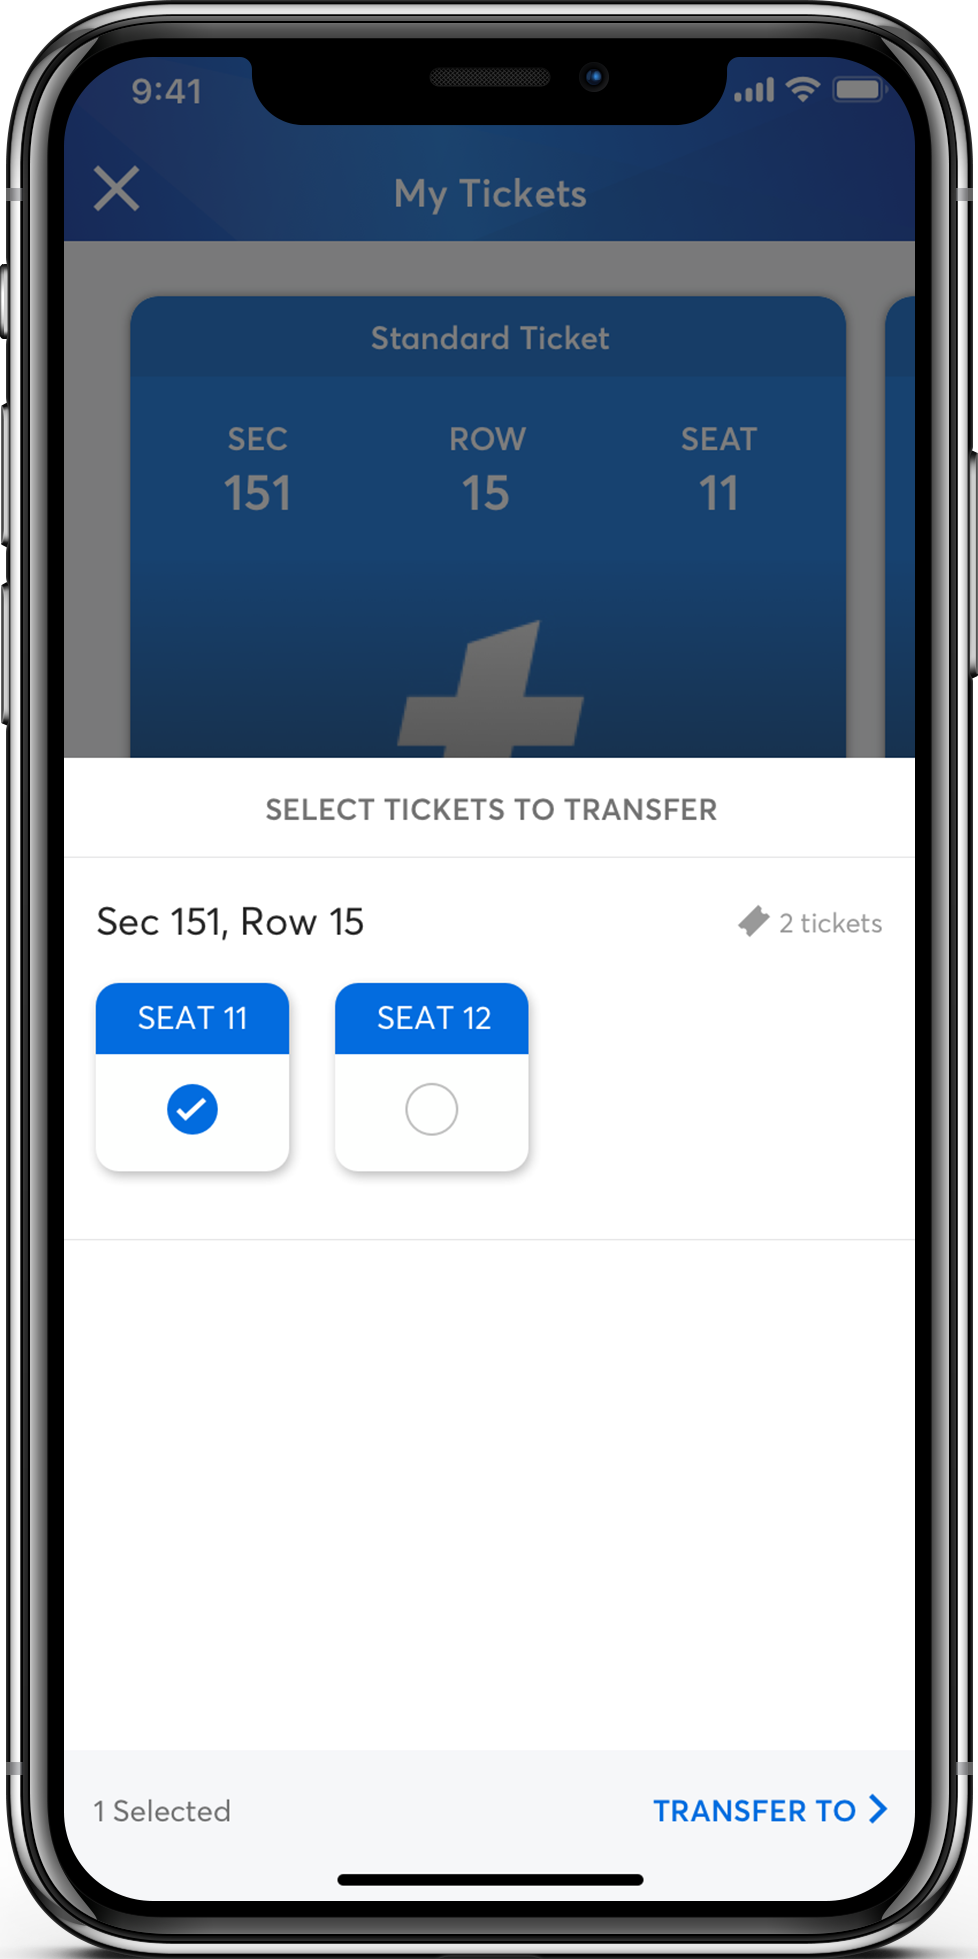
Select the tickets you'd like to transfer.

STEP 3

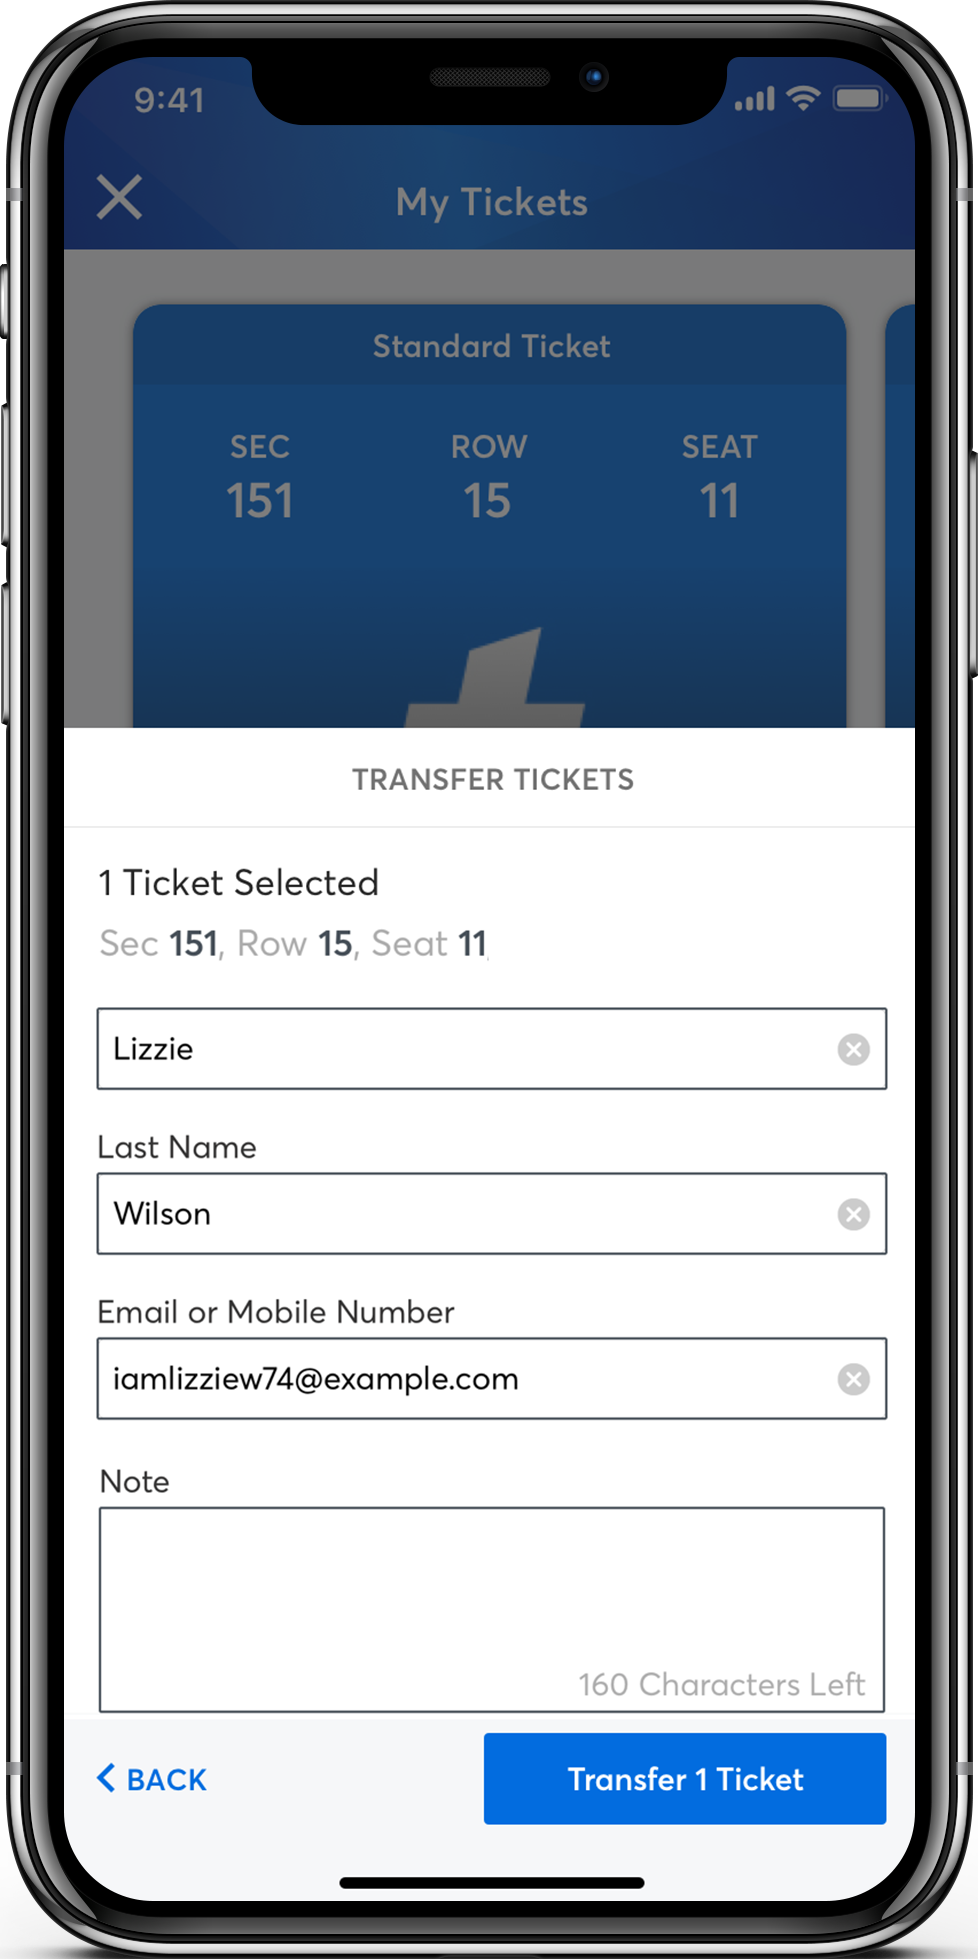
Enter your recipient's information, tap Transfer Tickets and you're all set.

When transferring tickets you’ll receive two (2) emails: one confirming your ticket(s) have been sent and another when your recipient accepts the tickets you sent. Your recipient will also receive an email prompting them to accept your tickets. Once the ticket transfer has been accepted, the tickets in your account are no longer valid and you will not be able to get into the event with those tickets.

*Those receiving a ticket transfer must have an account. If they do not have an account, they can easily create one when they accept the tickets.
STEP 1

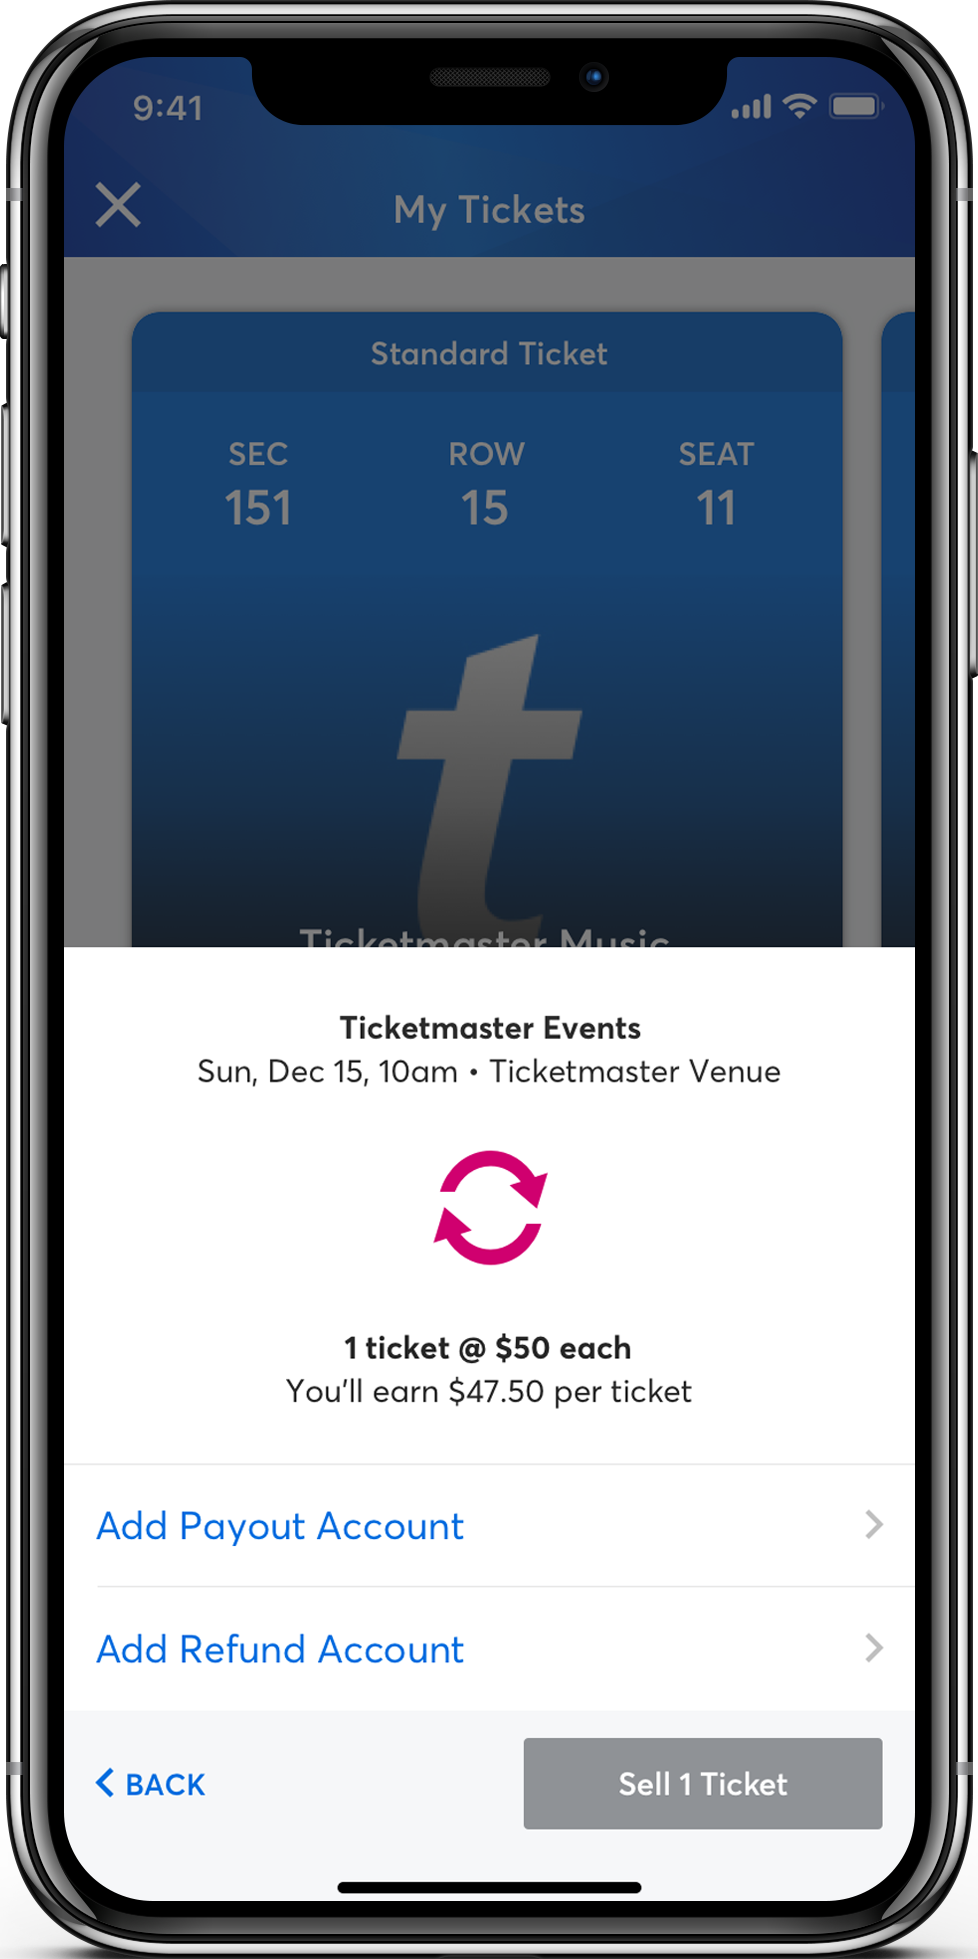
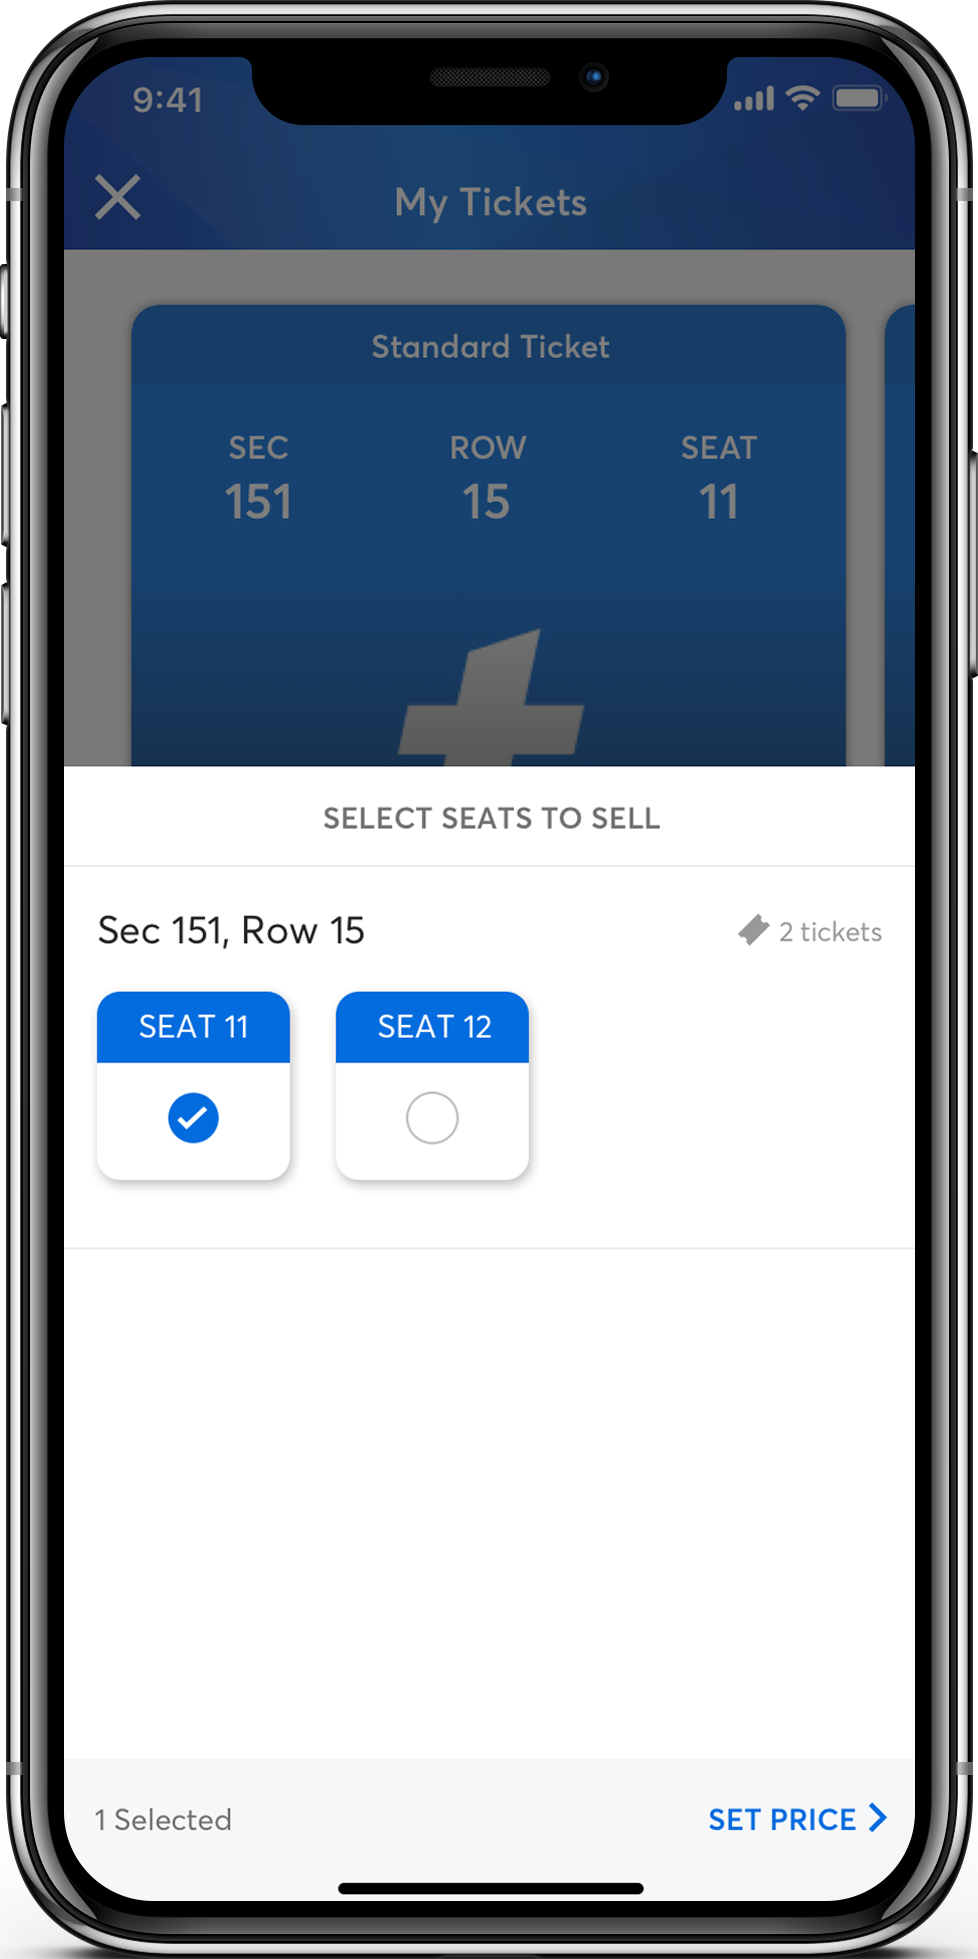
From your app, tap on your event to view your ticket. Tap Sell and select the tickets you'd like to list.

STEP 2

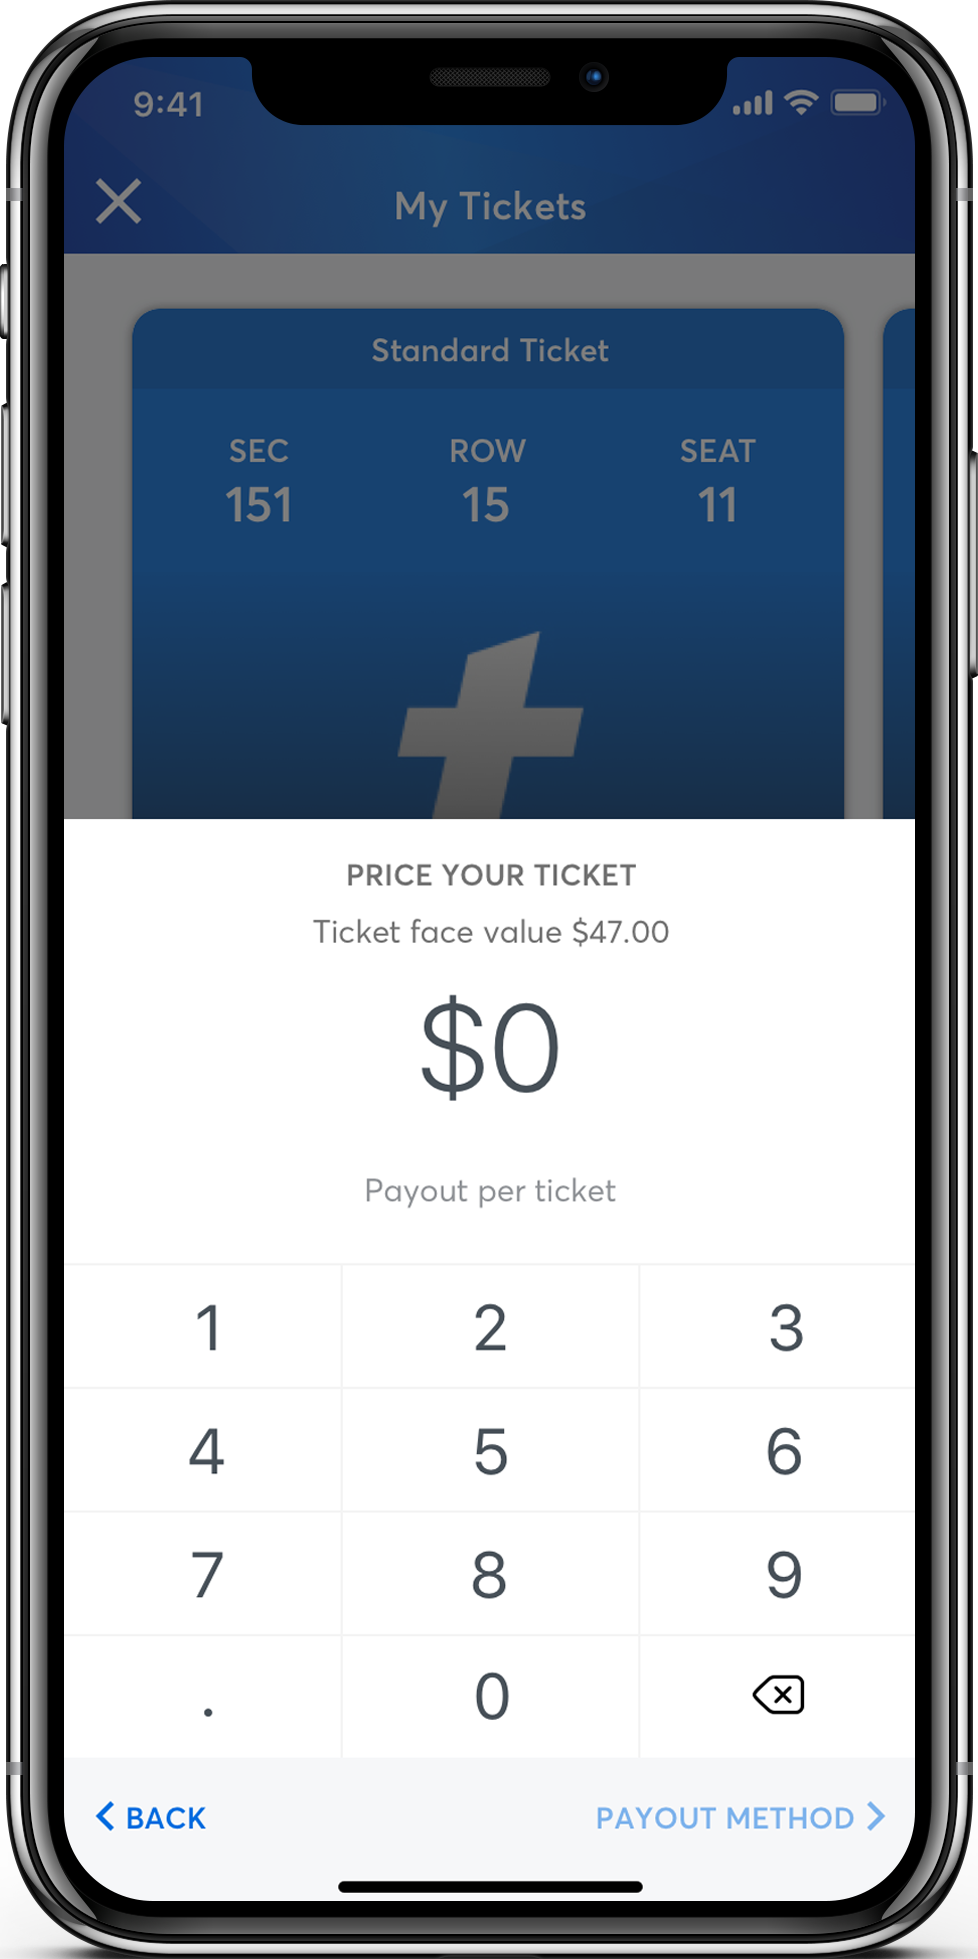
Next, tell us how much you want to list your tickets for.

STEP 3

Last, set your payment methods, tap Sell Tickets and you're all set.